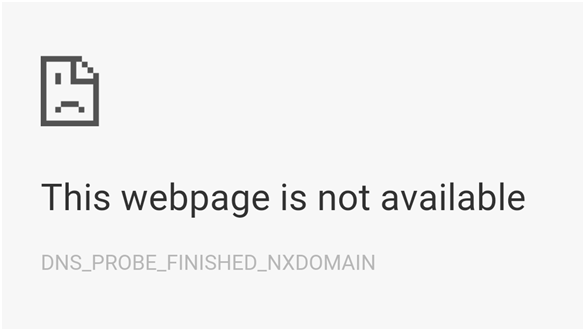
Ever had your day ruined by an irritating unfixable error on one of your computer programs? Well, I figured that you have. The DNS Lookup Failed error also known as DNS_PROBE_FINISHED_NXDOMAIN is one such common error. This error occurs mainly on the Google Chrome browser usually when connected to a broadband internet connection. It comes off as really frustating to users who are not capable of debugging such errors. It occurs on computer browsers when the DNS server of the INTERNET connection fails to respond. The failure of response occurs due to various reasons all of which are fixable.

To many people, the problem may look quite serious and hard to fix for rookies but in fact, it is very easy to get rid of. There are a few simple steps you need to follow to fix this error. Let us have a look at the procedure of fixing this problem below.
Fixing DNS Lookup Failed Error on Google Chrome for PC
As mentioned above, it is quite simple to get rid of DNS_PROBE_FINISHED_NXDOMAIN error and all you need to do is follow the below mentioned steps.
- Step 1: Open Command Prompt on your PC and type “ipconfig/flashdns”
- Step 2: Change DNS server addresses to 8.8.8.8 and 8.8.4.4
- Step 3: Clear all the cache, cookies, and history from your Chrome browser. This can be done from Settings -> Show Advanced Settings -> Clear Browsing Data on the Chrome browser.
- Step 4: Disable all the ad-ons and extensions from your browser. This should finally fix the issue.
Fixing DNS Lookup Failed Error on your mobile phone
If you are facing the DNS Lookup Failed error on your Android device Then here is how you can fix it in 5 simple steps.
- Step 1: Reset your Android mobile phone – the Android phones sometimes get filled with loads of junk which could lead to the DNS error. Resetting the device however could fix it.
- Step 2: Turn on the Wi-Fi your Android device – Go to settings -> WLAN -> Click on the switch on the top right corner until Wi-Fi is turned on.
- Step 3: Connect to your default Wi-Fi network you’re facing the error on. Then go to Show Advanced options highlighted in the Wi-Fi network menu.
- Step 4: Scroll down to IP settings and enter the default settings provided by your internet service provider. If you don’t have them with you, get in touch with your internet service provider for more information.
- Step 5: After you’re done filling the Wi-Fi settings details, enter the access input name (Never default; the user’s choice). This should now fix the DNS_PROBE_FINISHED_NXDOMAIN on your Android phone. In some cases using a VPN server may fix this error and you can use any of the best vpn servers online to do this. However, the above solution will fix everything.
Final Verdict
The DNS Lookup Failed error is a very common error for people using the Chrome browser on their devices. However, it just requires manual alterations in settings to fix. With just a little bit of tweaks, the browser should start working as it normally does.
If despite all this, the user is unable to work out the fix for the error, their best bet would be to directly call their internet service provider for fixation. The ISP should properly guide you and in some occasions actually visit you to fix the problem.

